|
|
Scada for Arduino | Phone: +34 96 357 45 11 Fax: +34 96 357 43 12 infoacimut@acimut.es |
|
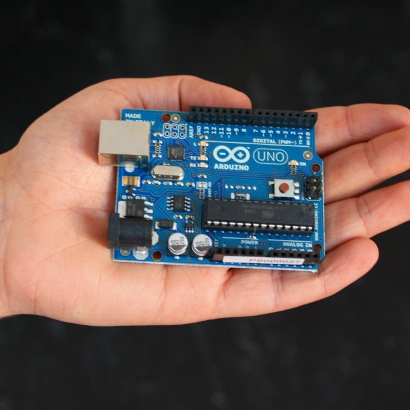
Acimut Monitoriza for ARDUINO

|
Scada free and fully functional for free Arduino hardware platform |
Thanks to the project of Juan Pablo Zometa, ModBus protocol implementation for the Arduino board has been possible to design a specific version of our SCADA Acimut Monitoriza.
This version of "Acimut Monitoriza for Arduino" is fully functional and free of all restrictions of use, both in terms of number of variables to control as clients. The only limitation you have is you can only connect to devices Arduino
| Getting Started | Features | Creating a Scada project |
Getting Started
| Step 1 | Upload to Arduino device the ModBus RTU protocol |
| Download SketchBook ModBus RTU protocol here. | |
| Download SketchBook Arduino v. Alpha Download SketchBook Arduino v. 1.0 | |
| First to do is to upload
the ModBus RTU protocol in the Arduino module.
This protocol implements function 43 (Read
Device Information), by means of which the
device is presented to Acimut Monitoriza like
an Arduino device. The included example implements how to switch on or off the led on the board setting 1 or 0 in the 0 registry of the registry array. |
|
| Step 2 | Install Acimut Monitoriza for Arduino |
| Donwload Acimut Monitoriza for Arduino here. | |
| Download Monitoriza for Arduino | |
| The Monitoriza installation requires .NET Framework 3.5 SP1 previously installed. Running the setup.exe will test if it is installed and will download it from the Microsoft web page otherwise. | |
| Step 3 | Load the example of Scada in Monitoriza for Arduino |
|
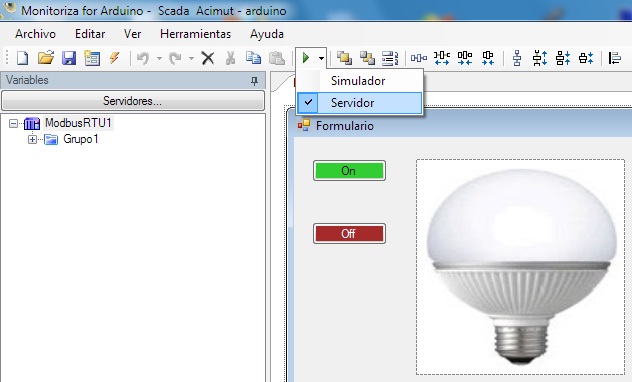
Once installed we will have a shortcut
to the example in the Start Menu. When you
open the shortcut it will be loaded in Monitoriza
for Arduino and by means of using the
two buttons you can switch on and off the
led in the board.
|
|
| Step 4 | Running the Scada project |
|
We will simply have to press the Play
button (with the Server option active) to
run the Scada project and so we can switch
on and off the led from the scada.
 |
|
Features
|
Creating a Scada project
|
In the video
it is shown how to create a new Scada
project for Arduino in which it is defined a
communications server with the arduino board
through ModBus protocol. It is created a
variable in the 0 registry |